
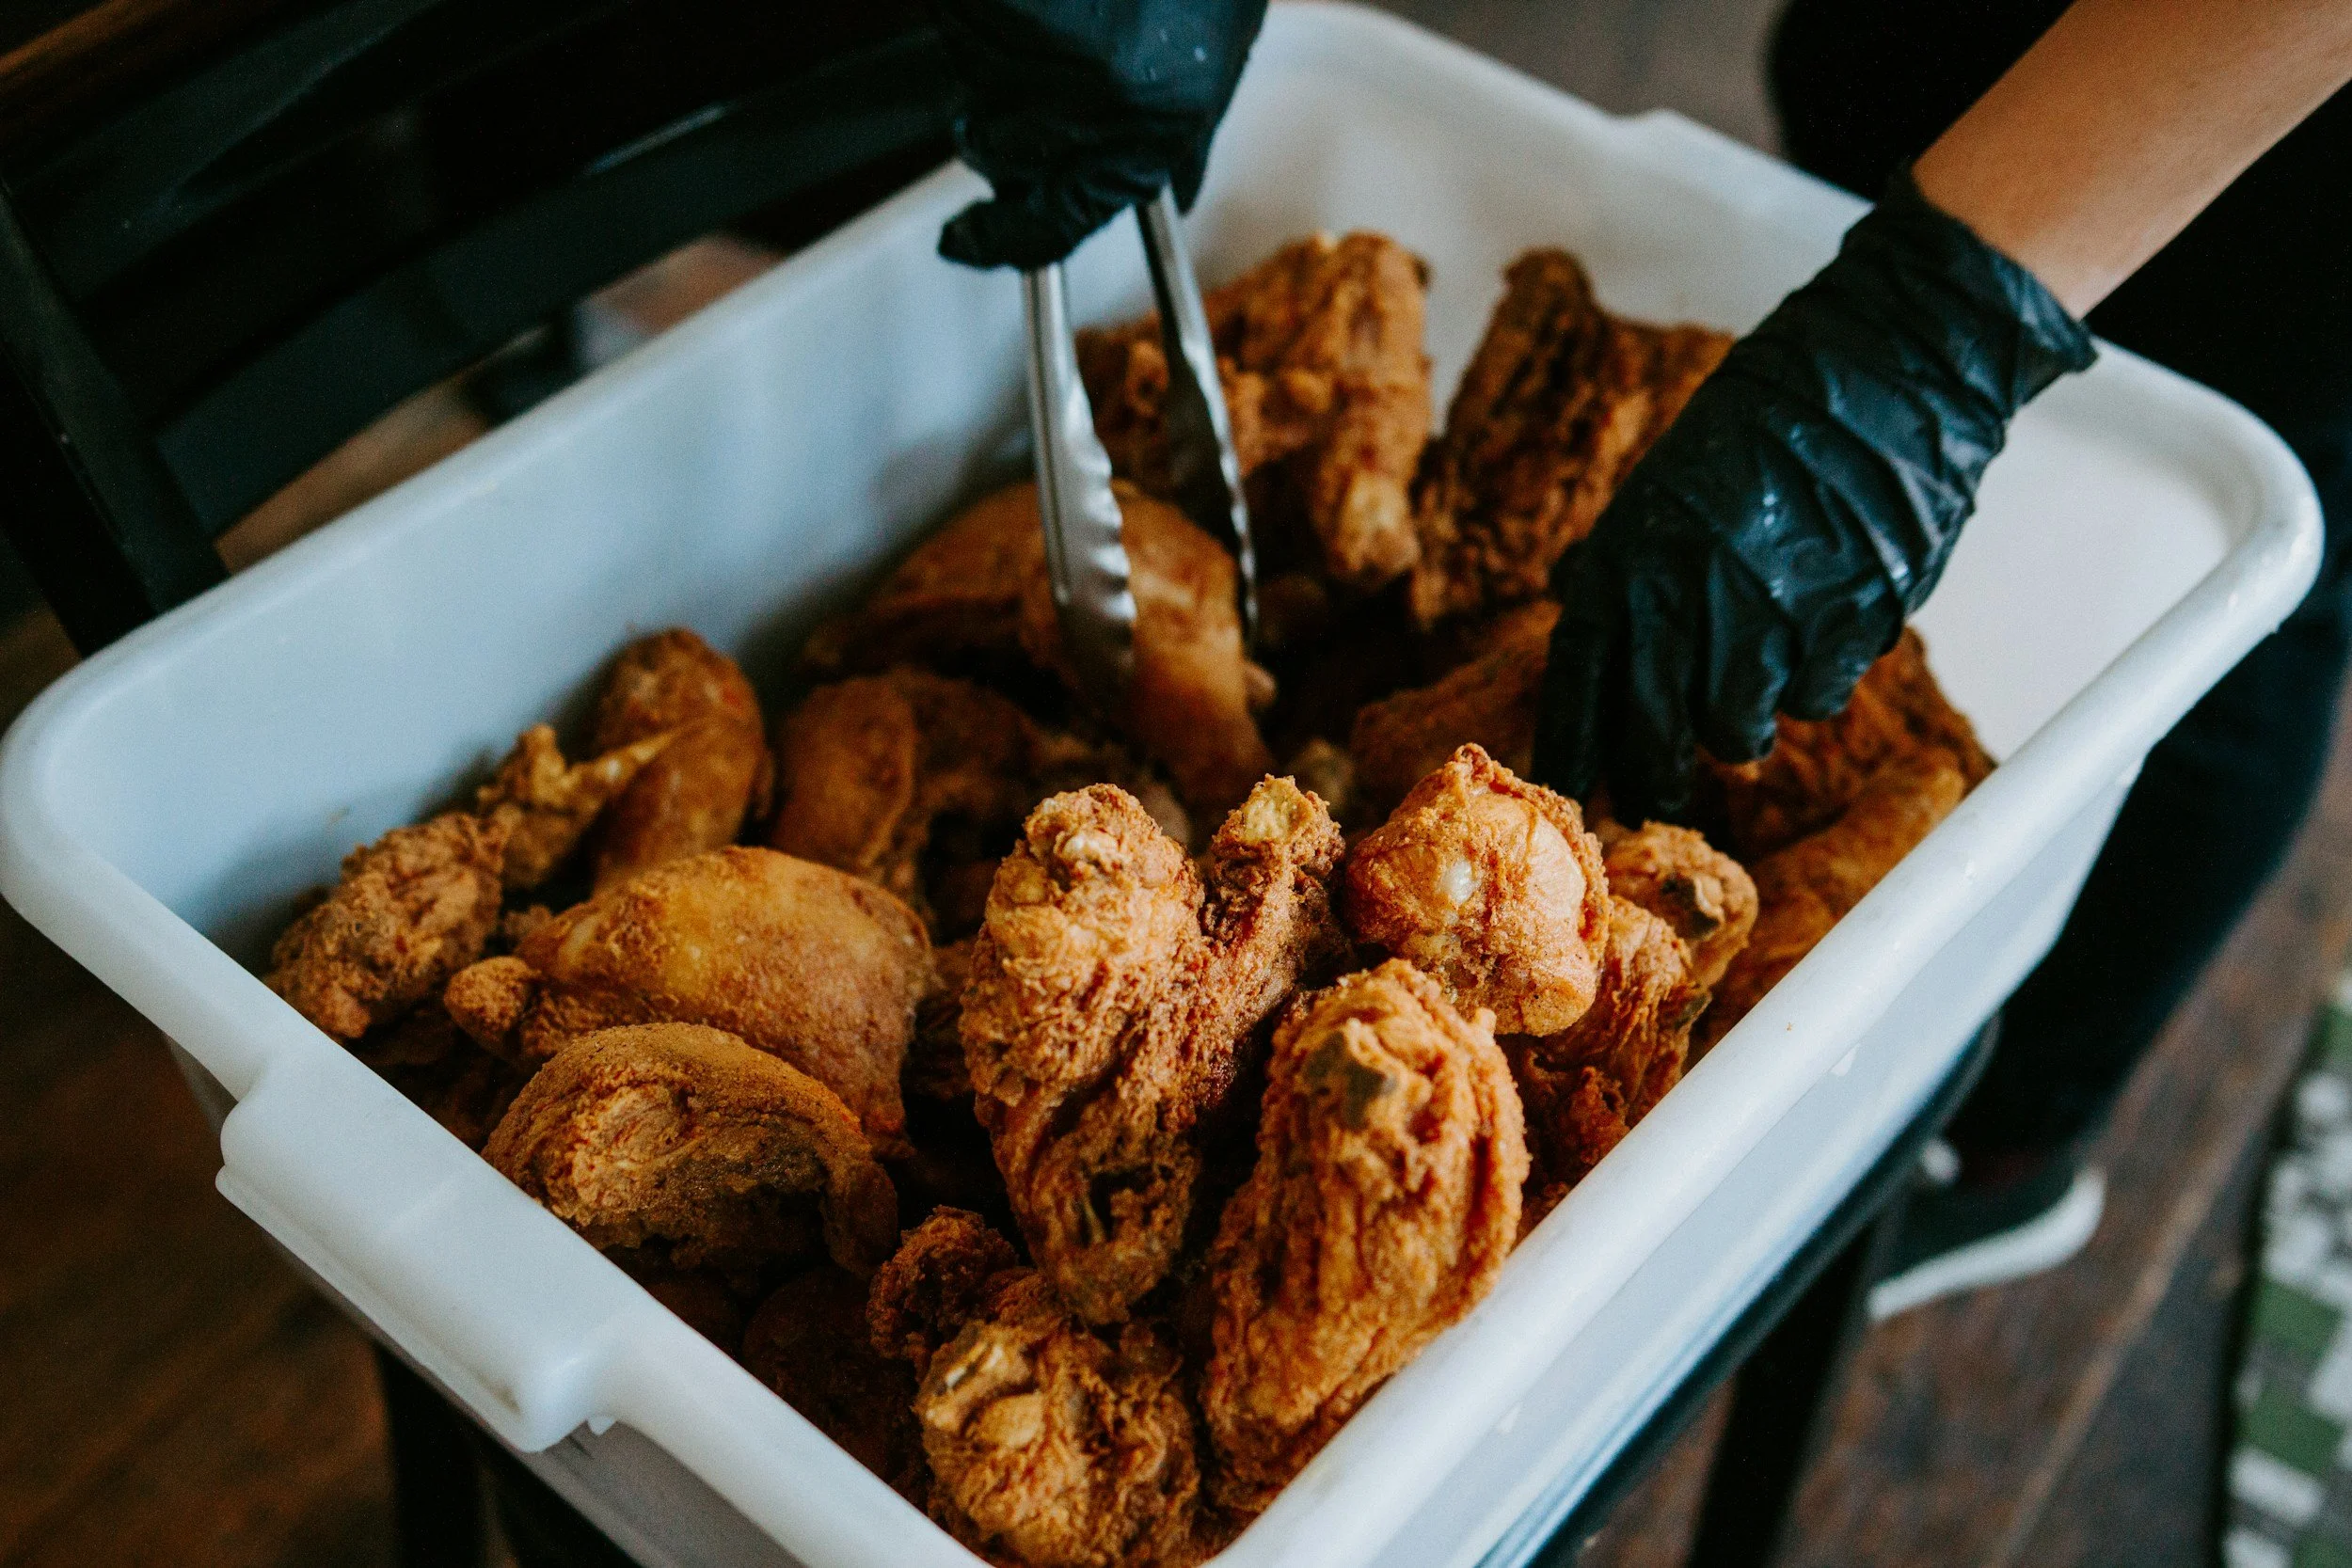
Grocery Store Fried Chicken
Your local grocery store doesn’t bother with the egg wash to fry chicken, its about the seasoning. This covered dutch oven replicates their professional pressure frier, to cook the chicken quickly. This is also the same method that KFC uses, but that’s a different recipe.
Yields: 8 pieces
Prep Time: 5
Cook Time: 20 minutes
Special Equipment: Dutch Over, Rimmed Baking Sheet, Wire Rack
Ingredients
3-4 pounds chicken
3 cups flour
3 tablespoons white pepper
1 tablespoon baking powder
1 tablespoon garlic powder
1 teaspoon salt
1 1/2 quart oil
2 quarts water
Directions
Combine Dry Ingredients: In a large bowl, whisk together the flour, white pepper, black pepper, garlic powder, baking powder, and salt. Whisking just means mixing them thoroughly so every pinch has the same flavor.
Coat the Chicken & Let It Rest This step is crucial for making sure the coating sticks to the chicken and doesn't fall off in the fryer.
To Set Up Your Station Place a wire rack inside a baking sheet (one with raised edges, often called a rimmed baking sheet). This will be your holding spot for the coated chicken.
In a medium bowl completely submerge the chicken 2 pieces at a time in water.
Place the chicken into your flour mixture. Turn it over several times and use your hands to press the flour coating firmly onto all sides of the chicken. Make sure it's completely covered, then repeat water then flour again.
Place the coated chicken onto the wire rack, making sure the skin-side is facing up.
Place the entire sheet pan of chicken in the refrigerator, uncovered, for at least 1 hour (up to 2 hours is fine). This step is very important! Chilling the chicken helps the coating dry out and adhere to the skin, which is key to making it super crispy and preventing it from getting soggy.
Before you start frying, set up a second wire rack on another baking sheet. Line this rack with two or three layers of paper towels. This is where your perfectly fried chicken will drain, keeping the bottom crispy instead of letting it sit in its own oil.
Heat the Oil, Pour about 1 inch of cooking oil (like vegetable, canola, or peanut oil) into a large, heavy-bottomed pot, such as a Dutch oven. The heavy pot will hold heat evenly. Heat the oil over medium-high heat until it reaches 350°F. If you don't have a frying thermometer, you can test it by dropping a small pinch of your flour mixture into the oil. If it sizzles vigorously right away, the oil is ready.
Safety first! Carefully place the chicken pieces into the hot oil, skin-side down. They should be in a single layer. A little overlap is okay, but don't overcrowd the pot. The oil should come about halfway up the chicken. Cover the pot with a lid and fry for 10 minutes. After 5 minutes, carefully rotate the entire pot (don't flip the chicken yet) to prevent hot spots and ensure even cooking. During this time, the lid traps steam, which helps cook the chicken through. You may need to lower the heat slightly to keep the oil temperature around 300°F.
Continue frying with the lid off for another 7 to 9 minutes. This uncovered stage is what makes the crust deeply golden and crispy. The chicken is done when a meat thermometer reads 160°F for breasts and 175°F for thighs/drumsticks.
Drain and Cool: Transfer the cooked chicken to the paper-towel-lined rack you prepared earlier. Let it rest for at least 10 minutes before serving. This allows the juices inside to redistribute, making the chicken tender and moist. Enjoy!
Store leftovers in brown paper bags to keep chicken crispy.
